Image Source: Google
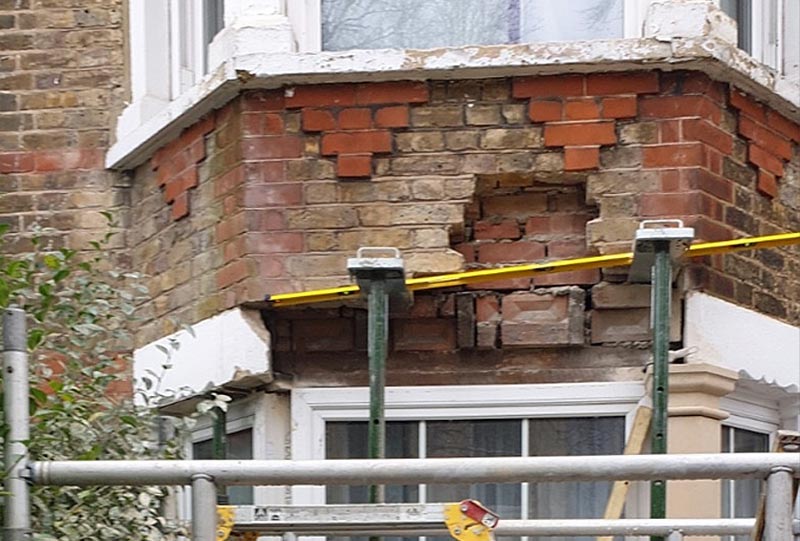
When it comes to the exterior of your home, the small details can make a big impact. One often-overlooked element that can greatly enhance your home's curb appeal is the lintel. Lintels are horizontal supports typically found above windows and doors, and replacing an old or worn-out lintel with a stylish new one can give your home a fresh and updated look.
If you're considering a lintel replacement to boost your home's curb appeal, read on for expert tips and advice. If you are looking for the lintel replacement then, you may visit this site.
Choosing the Right Lintel Material
One of the first decisions you'll need to make when replacing your lintel is what material to choose. There are several options available, each with its own unique benefits and considerations:
Steel
- Durable and long-lasting
- Can support heavy loads
- Resistant to fire and pests
- Modern and sleek appearance
Stone
- Natural and timeless look
- Available in a variety of colors and finishes
- May require more maintenance than other materials
- Adds a touch of elegance to your home's exterior
Wood
- Warm and inviting appearance
- Can be painted or stained to match your home's aesthetic
- May be prone to rot or insect damage over time
- Ideal for traditional or rustic-style homes
Design Considerations
Once you've chosen the material for your new lintel, you'll want to consider the design elements that will complement your home's architecture and style:
Shape and Size
- Ensure the lintel is proportionate to the window or door it's supporting
- Consider arched or curved lintels for a unique look
- Match the shape of the lintel to other architectural features on your home
Finish and Texture
- Choose a finish that complements your home's exterior material (smooth, textured, rough)
- Consider decorative details such as carvings or engravings for added visual interest
- Coordinate the lintel finish with other accents like trim and shutters
Installation Tips
Proper installation is crucial to the longevity and performance of your new lintel. Here are some tips to ensure a smooth and successful installation process:
Hire a Professional
- Lintel replacement can be complex and may require structural modifications
- A professional contractor will have the experience and tools to do the job correctly
- Ensure the contractor is licensed, bonded, and insured
Inspect for Damage
- Check for any signs of water damage, rust, or corrosion on the existing lintel
- Address any underlying issues before installing the new lintel
- Replace any damaged or deteriorated masonry surrounding the lintel
Use Proper Fasteners
- Choose high-quality, corrosion-resistant fasteners to secure the lintel in place
- Follow manufacturer guidelines for fastener size and spacing
- Consider using a waterproof membrane to protect against moisture infiltration
Maintenance and Care
To keep your new lintel looking its best and functioning properly, regular maintenance is key. Here are some maintenance tips to prolong the life of your lintel:
Inspect Annually
- Check for any signs of rust, corrosion, or damage
- Ensure the lintel is securely in place and not sagging or shifting
- Look for cracks or gaps in the masonry around the lintel
Clean Regularly
- Remove dirt, debris, and grime from the lintel surface
- Use a mild detergent and a soft brush to gently clean the lintel
- Avoid harsh chemicals or abrasive cleaners that could damage the finish
Repaint or Refinish as Needed
- Keep an eye on the finish of the lintel and touch up any scratches or peeling paint
- Repaint or refinish the lintel as needed to maintain its appearance and protection
- Consider applying a fresh coat of sealant to protect against the elements
Final Thoughts
Replacing your home's lintels with stylish new ones is a simple yet effective way to enhance your home's curb appeal and make a lasting impression. By choosing the right material, considering design elements, and following proper installation and maintenance guidelines, you can ensure your new lintels not only look great but also stand the test of time.
Share this post: on Facebook on Google+